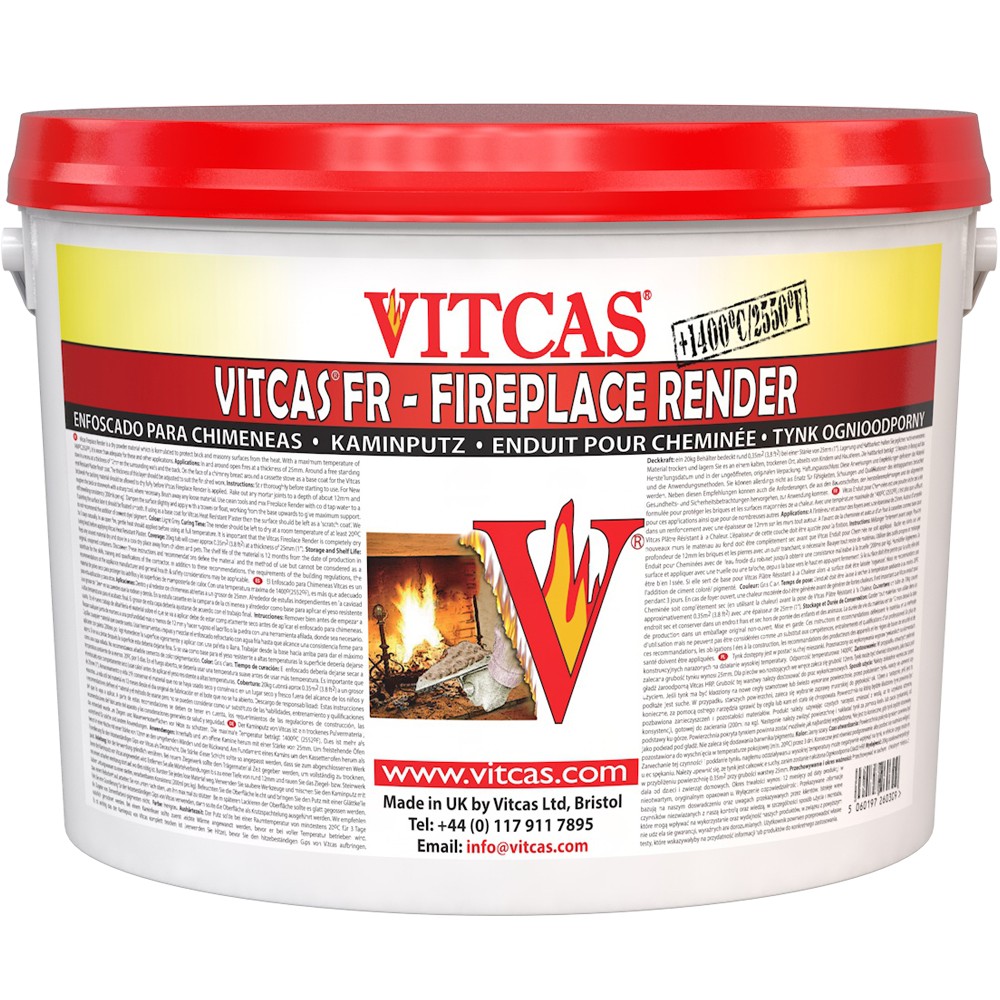
Fireplace Render provides a base coat on compatible masonry; heat resistant finishing plaster then creates a smooth surface. If an old finish is crumbling or separating from the wall, start by assessing the material underneath. A fresh skim coat will depend on that substrate for its adhesion.
Remove weak layers and assess the masonry
Loose render, dust and contamination interfere with adhesion. After cleaning, check that the remaining substrate is stable. A recurring masonry crack or movement in the surround needs investigation before the finish is rebuilt.
Select Vitcas Fireplace Render for the surfaces and operating conditions described by the manufacturer. Preparation may include cleaning joints, roughening and appropriate dampening. Follow the requirements for the actual substrate rather than applying the same method to masonry, old paint and construction board.
Plan the thickness of both coats
The render thickness depends on the application, while the finishing coat has its own limits. Check both instructions and mark the proposed wall surface before starting. Limited space beside an insert frame is not a reason to make the base coat thinner than specified or cover a required gap.
Vitcas HRP finishing plaster is intended for suitably prepared Fireplace Render or HT boards. Do not treat it as a universal coating for any existing plaster.
Allow the render base coat to dry
Before applying the next coat, the render must meet the manufacturer's drying requirements. Cold, damp winter conditions can extend this stage. A dry surface does not establish that moisture has left the full thickness.
Include any required priming, finishing conditions and initial heating in the schedule. Do not make up lost time by heating the fireplace rapidly. At handover, check the finish and grille openings; keep substrate photographs and product instructions for assessing any later cracks.